
Support: 02191302815
If you have calculated the cutting dimensions of your project and need a cutting plan and the number of sheets used; This program is for you. Take a photo of the cut dimensions and get the cut plan.
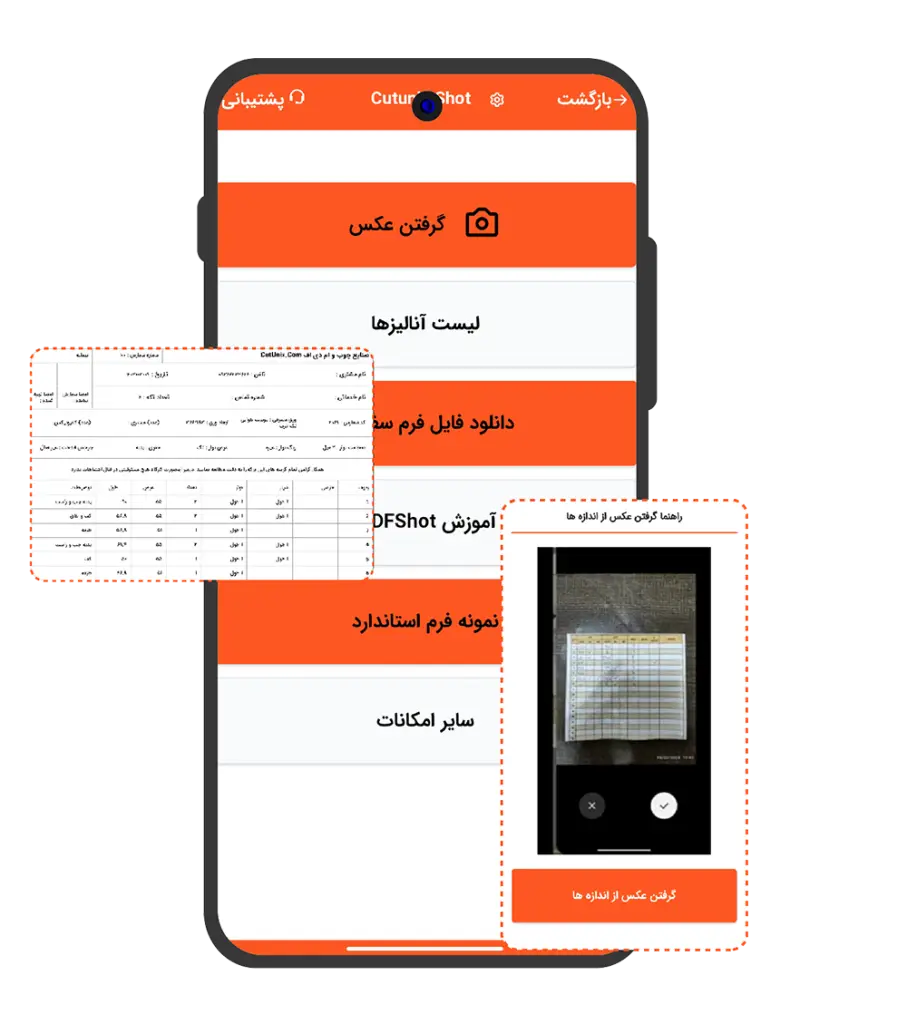

- First step
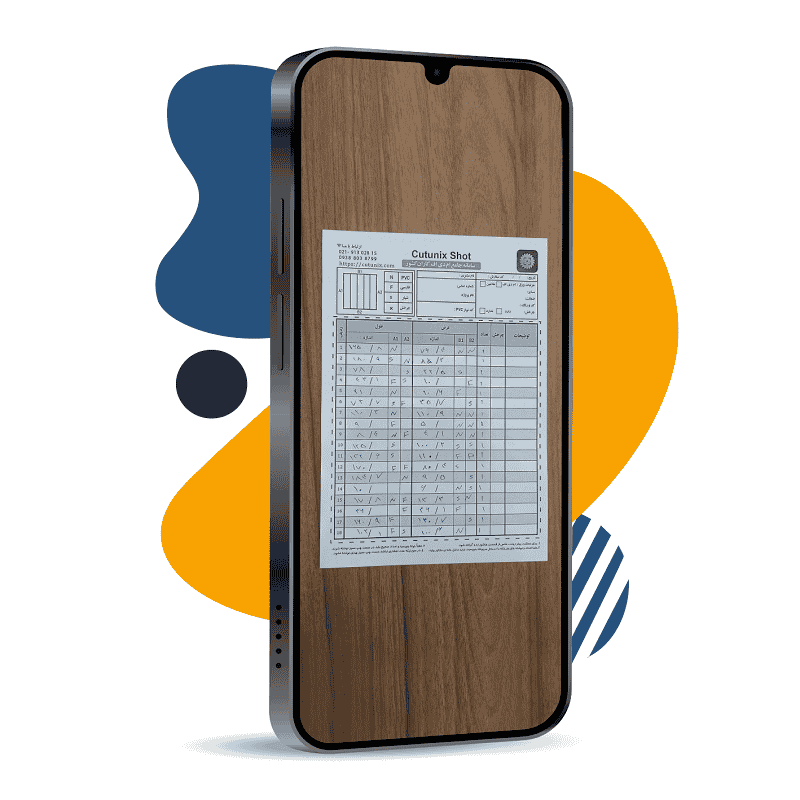
For better conclusions, it is necessary to record the cutting dimensions in the app sample forms. For this, download and print the sample forms. Then write down the desired dimensions on the form in a well-written and legible manner. Do not forget to enter the number of each piece. To record the tape, use the Persian letter “N”, the letter “F” and the groove, use “S”.

Use this button to download the order form.

-Second step
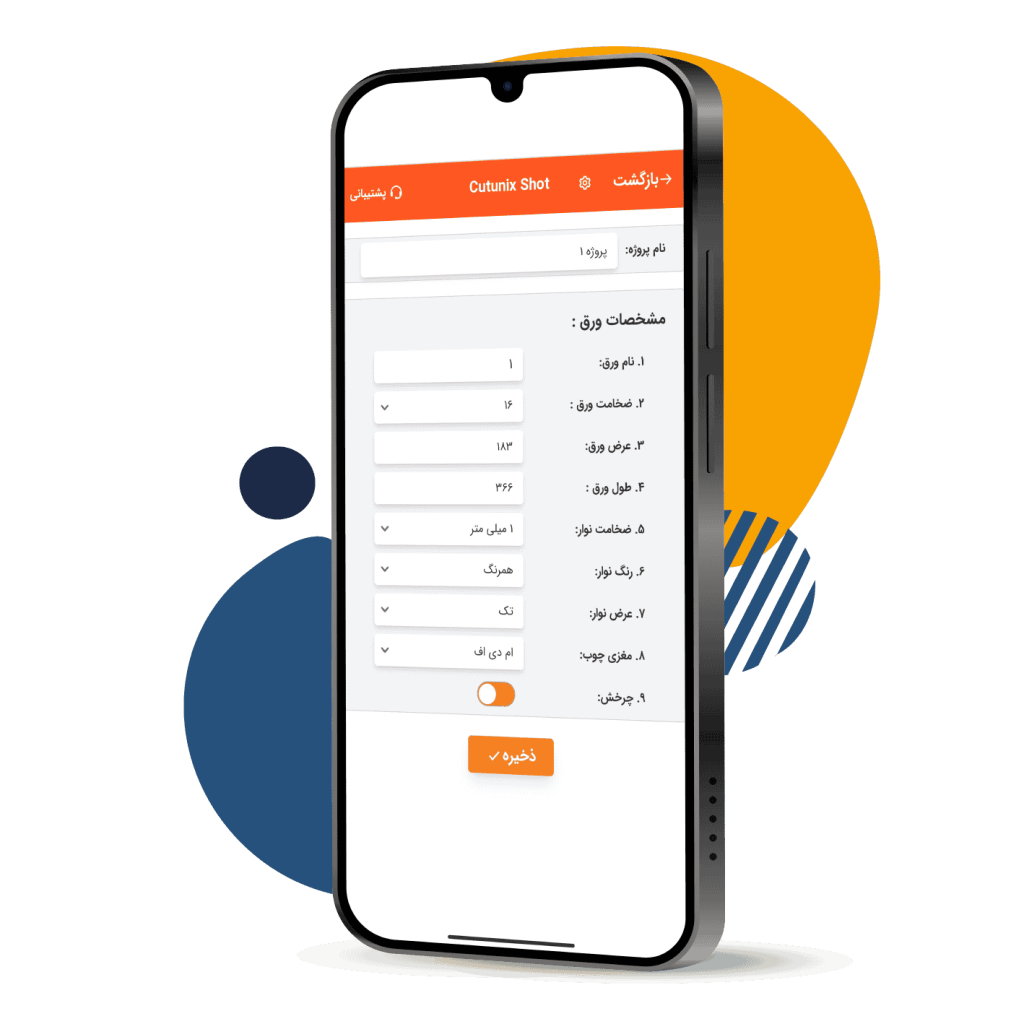
When you press the button to take a picture of the dimensions, the project registration page will open. Choose a name for your project and enter the sheet details. It is also necessary to specify the type of tape used in this project. Finally, press the save button.


- Third step
After registering your desired project and sheet size, your phone’s camera will activate. Carefully take a photo of your dimension form and upload it. Allow the robot time to analyze the dimensions. Once the dimensions are displayed, carefully review them and edit as needed.

If you're not satisfied with the final result, press this button to delete the previous information and start a new photo registration

If your project requires multiple sheet types, use the 'Add New Sheet' button to register them

If your dimensions are recorded on multiple forms, press the button to scan the next form and repeat the previous steps

- fourth step
After entering the cutting dimensions and completing the analysis, we’ll move to the project analysis screen. On this screen, you can add a new order form for the registered sheet or edit the registered dimensions

By pressing the 'Add Sheet' button, you can record the cutting dimensions of another sheet. First, enter the sheet specifications, press the 'Save' button, and take a picture of the cutting dimensions.

Press this button to save your information. Once saved, you can access this project from the analysis list page and complete it.

Press this button to generate the cutting map.


-Fifth step
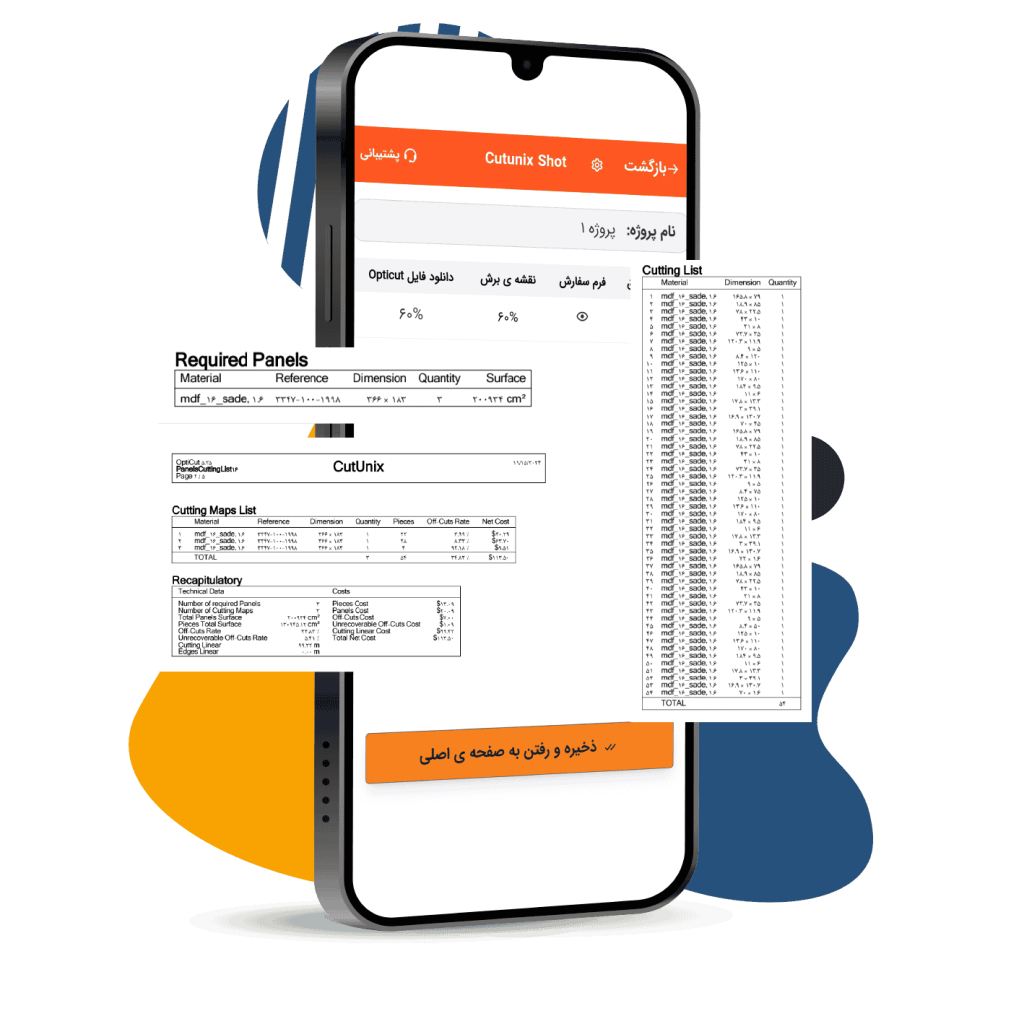
At this stage, allow the software to process the information and generate the output. You can then view the cutting map and download the Opticut file
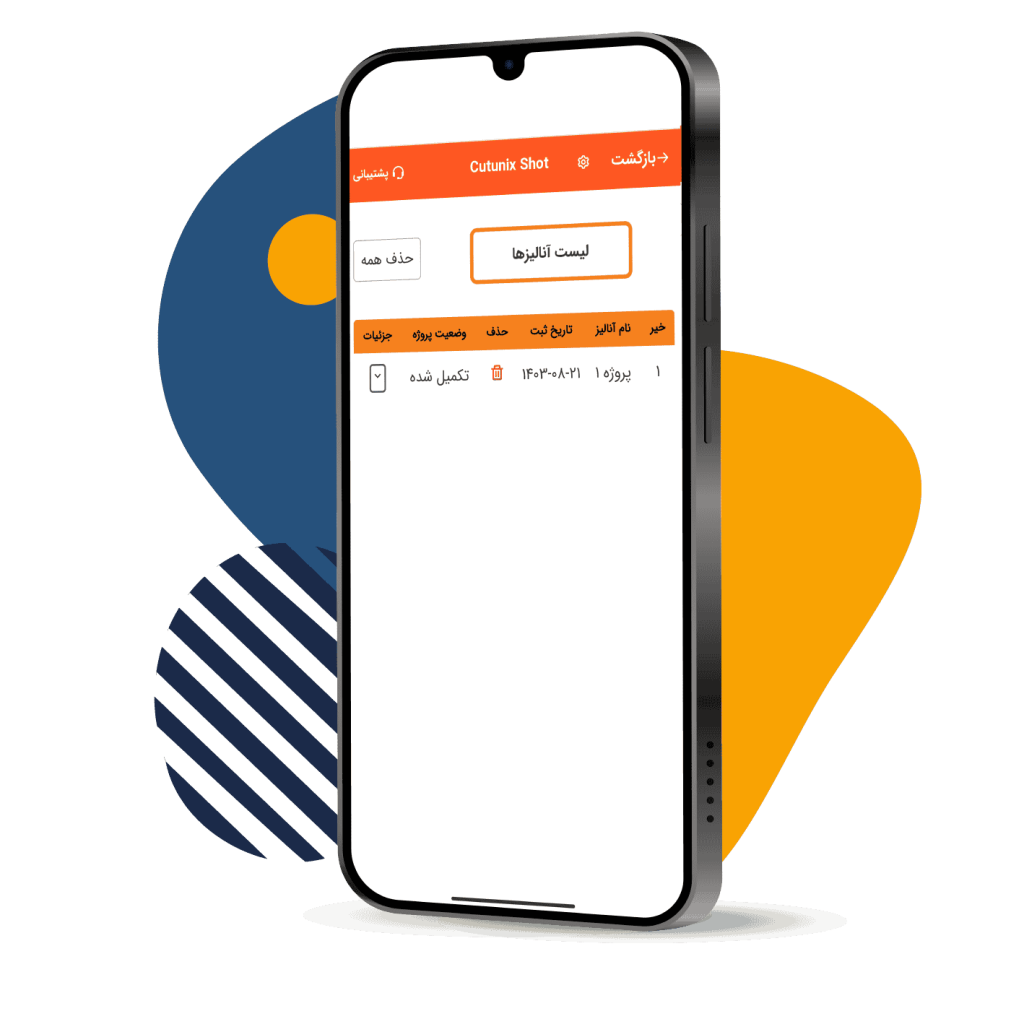
By pressing the ‘Analysis List’ button on the main page, you can view all registered projects. Clicking on a specific project will display its details.
When using the CutunixShot application, keep these things in mind:

If you don’t receive an SMS after logging in or registering, please ensure that VPN is turned off on your device.

To ensure accurate software performance, print the sample file and write your measurements directly on it. Alternatively, you can request a printed form through our support team

Due to the significant costs associated with programming, artificial intelligence servers, and data storage, the app currently requires a subscription fee to maintain its service
To contact the application support department, call the following number:
02191302815 – 09120177198
